# Starting a Nuxt Project
For a number of the projects at 14Four, we use Nuxt (see Nuxt Project Structure & Usage). To start a Nuxt project from scratch, you can use Create Nuxt App (opens new window). However, we've gone through the effort to setup some boilerplate code commonly used within many of our projects. Therefore, it is recommended that you create your Nuxt project by forking this repo (opens new window).
# Project Setup
Do the following to get started:
- Fork the repo (opens new window)
- Run
./setup.shto update project name and domain references - Run
npm install
To run locally:
npm run dev
To run from Docker:
make install
make dev
TIP
The prompt from ./setup.sh has you put in the second-level domain without the top-level domain. By default, there are some .com references in the project. Make sure to find and update those if your domain uses something else (ie. .org or .net).
# What's in the Repo?
The default Nuxt project created in the 14four-frontend-nuxt (opens new window) repository comes with:
- Docker setup (
docker-compose.yamlfile) - Commonly used SCSS files (includes a CSS reset)
- Entry points (Coming Soon and Promo Over)
- Form examples (Log In / Register)
- Default error handling with error page
- Pug and SCSS support
- Prefilled metadata (OpenGraph and Twitter)
- Page and layout transitions
- Bug fixes (Chrome Dev Tools fix and console warning fix)
- A
.vscodefolder to force code formatting (relies on VSCode extension ESLint (opens new window)) - Useful plugins:
directives.client.js: Allows custom directives to be easily imported from/directivesfolderjs-logger.js: Built-inthis.$logfunctionality (logs won't show in production)viewport.js: Includes methodsthis.$isMobileandthis.$isTabletvue-the-mask.client.js: Providesv-maskdirective fromvue-the-mask
- Commonly used packages:
- @nuxtjs/apollo (opens new window)
- @nuxtjs/eslint-module (opens new window)
- @nuxtjs/recaptcha (opens new window)
- @nuxtjs/style-resources (opens new window)
- @nuxtjs/stylelint-module (opens new window)
- @nuxtjs/svg (opens new window)
- DayJS (opens new window)
- Autoprefixer (opens new window)
- Robots (opens new window)
- Sitemap (opens new window)
- vue-the-mask (opens new window)
In addition, all components pass basic accessibility tests and includes a Skip to Main link for all entry points. Common code formatting files included: prettierrc, eslintrc.js, and .stylelintrc.
TIP
By default, the project sets ssr: false in the Nuxt config. This means that the project is completely client-side. There are many reasons to update the project to full-static (ssr: true), including: SEO optimization, faster initial page load, better Lighthouse score... Unfortunately, developing a full-static site requires more awareness from the developer, as well as slower compilation times during the development cycle.
# Contributing
Want to add a useful update? Knock yourself out! Create a feature branch (ie. feature/Nuxt3), add your code, push to origin, and create a pull request. To create/merge a pull request, do the following:
- Go to the 14four-frontend-nuxt (opens new window) repo in Bitbucket
- Select Pull request -> Create pull request
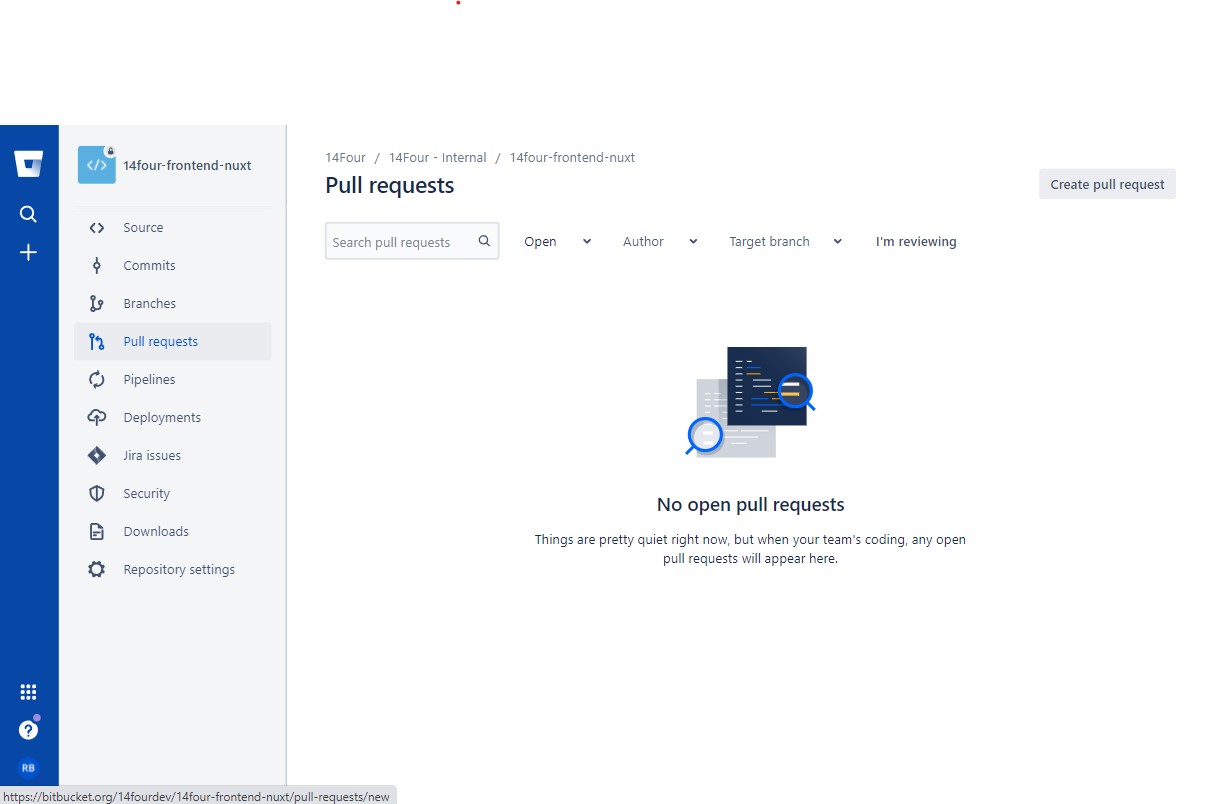
- Select your feature branch to merge into
master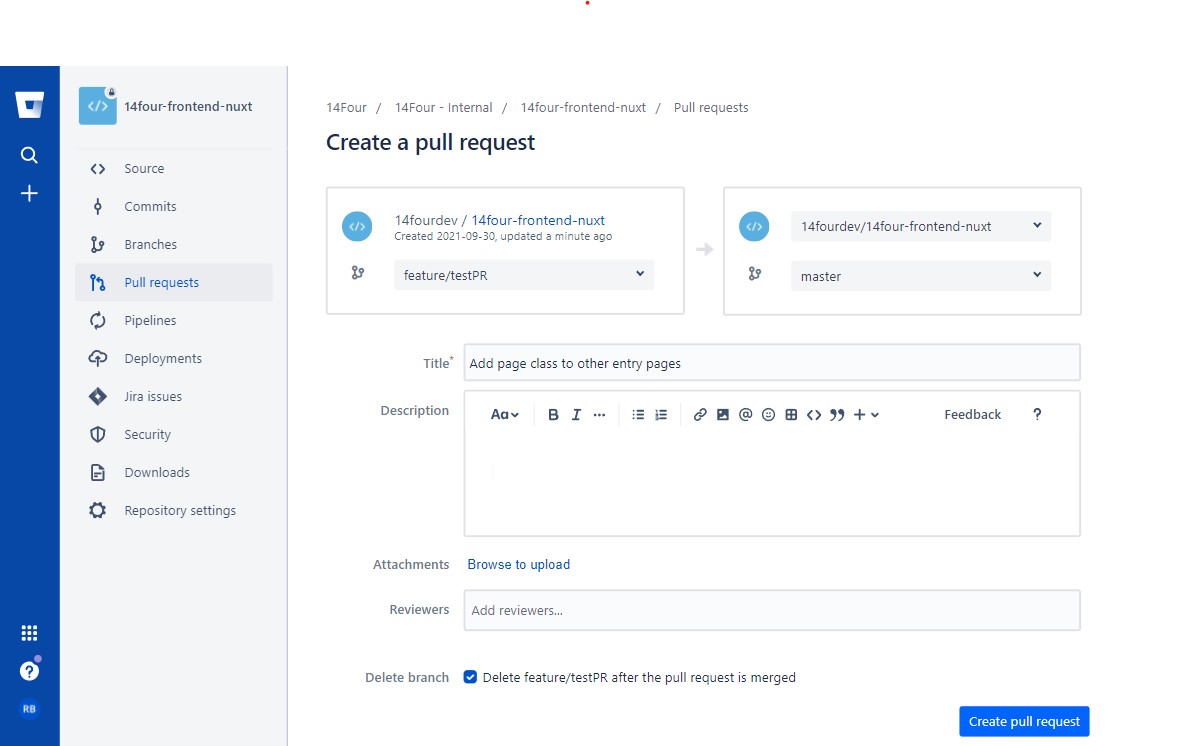
- Share your pull request with a peer of your choice
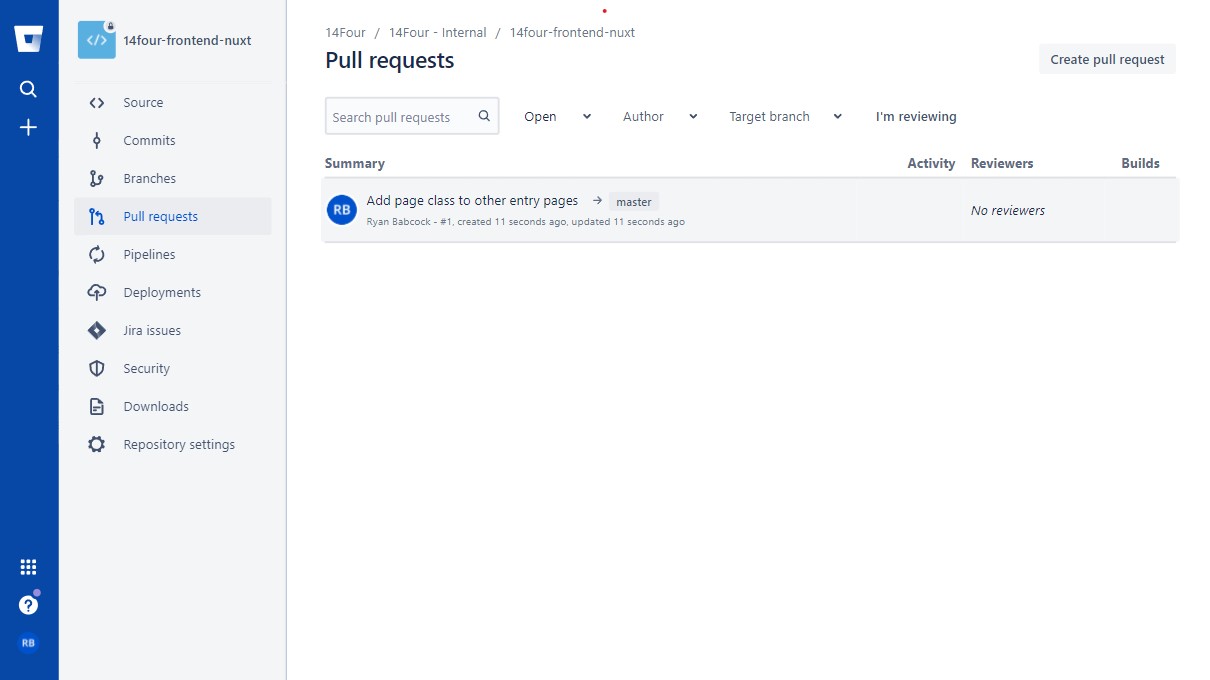
- Have them review your updates. Make any changes to the feature branch if necessary.
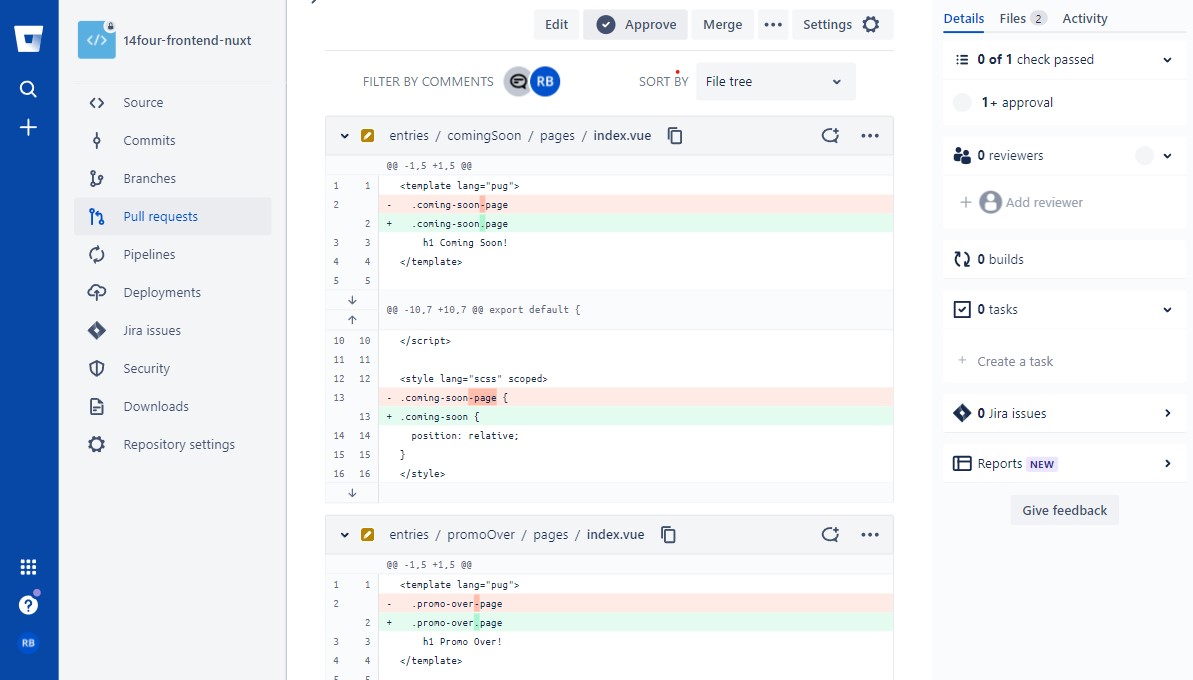
- After approval, revisit the pull request and merge
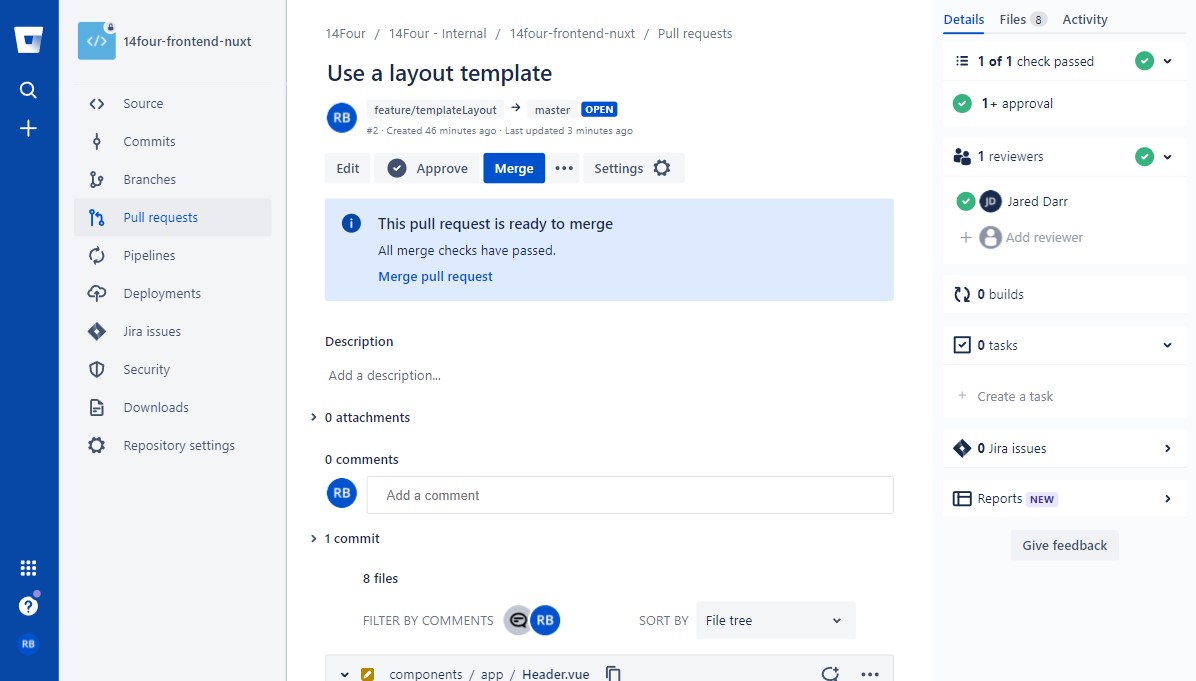
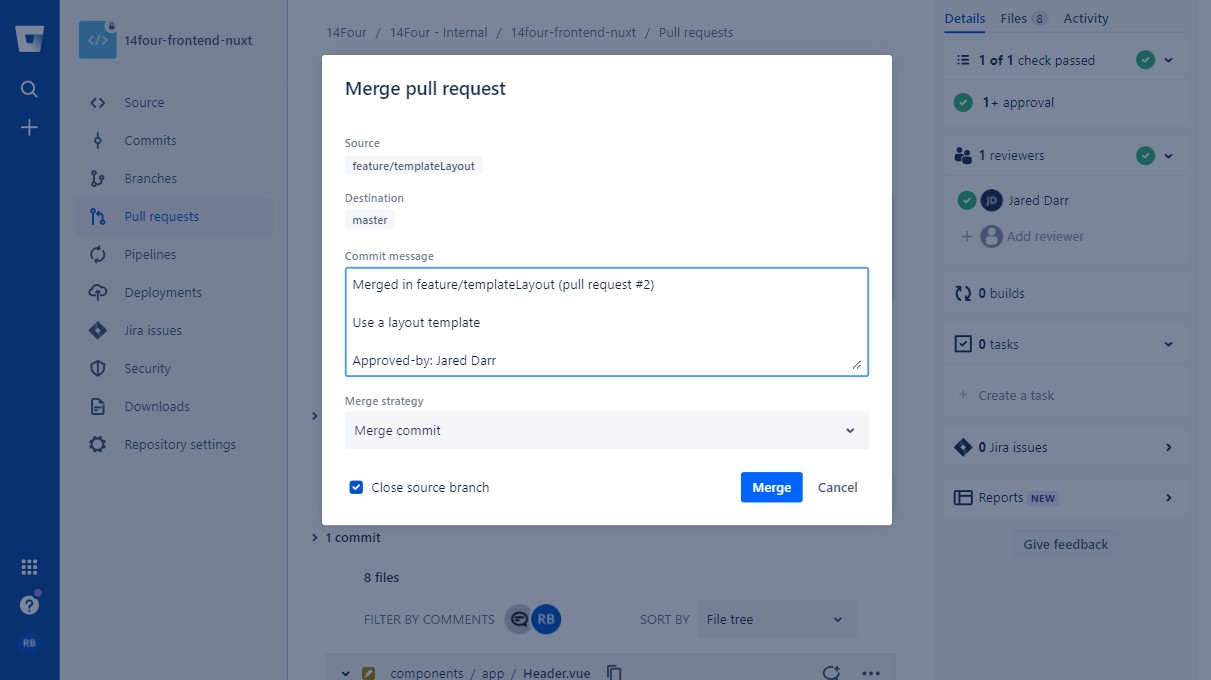
Notes: Currently, we're not using Bitbucket Premium, which means that merging an unapproved pull request is possible (only shows a warning). So be diligent, and please follow the above steps.